One Day (One Dollar!) Craft Challenge
Are you ever stuck with analysis paralysis? That is me daily. Today I challenged myself to make something – anything – in just one day. I was determined to finish it despite children underfoot, washing machines buzzing, and all the cyber-everything emails taunting me. (We did get through homeschool. Because, #responsibilities.) I also promised myself I wouldn’t worry too much about perfect pictures, perfect staging, perfect words. Because, #reality. And the point of this challenge is to finish something.
So here goes.
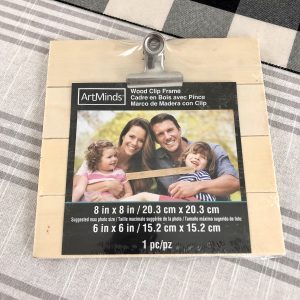
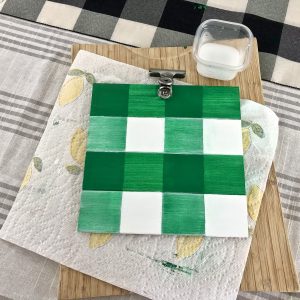
Remember that clipboard / picture frame I found at Michael’s the other day for $1.00? I’ve been stewing on that bad boy and came up with an idea. Since it already had evenly spaced horizontal lines, I decided to paint a buffalo check pattern on it. Luckily, my table runner (which is actually a length of cheap ribbon, shhh) served as easy reference.
The craft gods were shining on me because the entire piece is 8″ x 8″ and each horizontal row is 2″, making it easy to divide into four rows of 2″ squares.
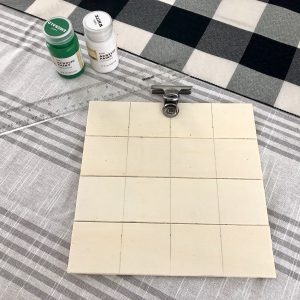
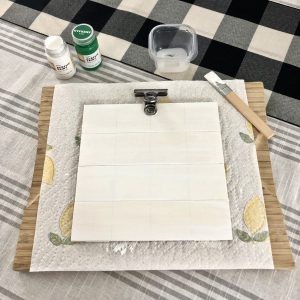
After I marked my lines, I painted the entire piece white. The paint I’m using is a bit thick, so I watered it down a little. After the initial coat, I used the paint as-is. I’m a rebel like that. I make things up as I go.
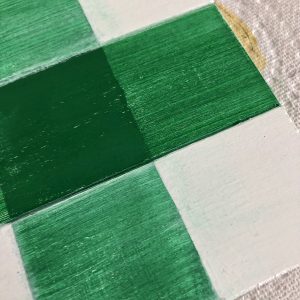
From here things started to get dicey. I thought I was awesome and had this big plan that involved painters tape, clean lines, and layering colors, but it turns out I was dead wrong about all of it and ended up with this.
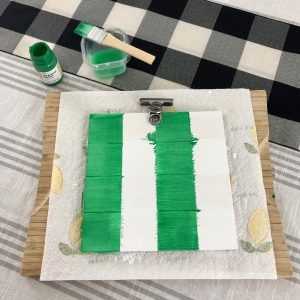
This is where I told myself, #keepitmovingmegan. Also, #ridic.
This is also where I’m going to tell you to find your own best way to paint buffalo check, or watch this tutorial here. Or you can do what I did and make it all up. There was no way I was going to repaint and retape, so I looked at my table runner and painted the spots that needed fixing.
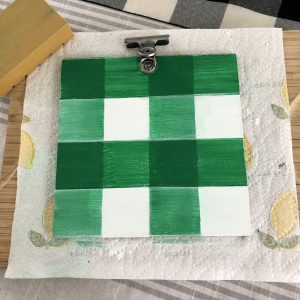
Better.
I decided to sand the edges to make it look chippy and messy. You know, like I meant to make all these mistakes. This was a good chance to smooth out some of the rough edges on the wood.
Next I added a coat of satin finish Mod Podge to give it a little bit of shine and finish.
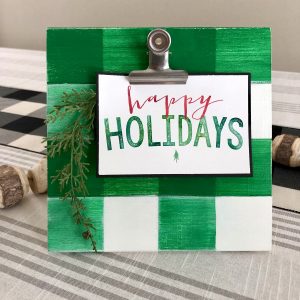
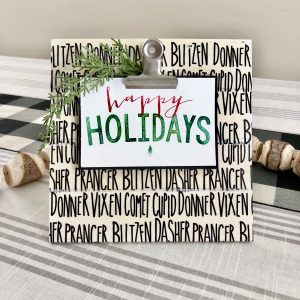
I played around with a few pieces to display and ultimately ended up printing a free holiday card from Leanne Price on Teachers Pay Teachers.
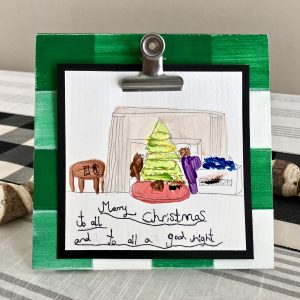
Here’s another picture I took with my daughter’s art. While I love the art, I didn’t realize how much it would cover up the pattern. I’m definitely going to look for something else of hers to display. Kid art is my favorite.
Other cute items you could display:
- Holiday cards
- Postcards
- Quotes
- Pictures
- Art (there are so many free printables online)
- Lists
* Disclaimer. While I did finish the craft in one day, I did not take the after picture until the next day. By the time I was done, the good light was gone and doggone it, I like good light.
To make this you’ll need:
- An 8″ x 8″ wood clip frame from Michaels. They’re $1 and in the aisle with all the wood bird houses.
- Acrylic paint in your choice of two colors. I prefer a satin finish.
- Mod Podge. I prefer a satin finish.
- Clean paintbrushes.
- Sanding block.
- Patience to get through this tutorial.
> > Update! < <
After this posted, I had another idea I felt like trying out. Typography is my jam, and this tissue paper at the Target Dollar Spot called my name. I cut it into strips and decoupaged it to the clipboard. What do you think?
So that’s about it. Would you like to see more one day one dollar crafts? If so, leave me a note below. I’d love to hear from you.
Don’t forget to follow us (me) on Instagram @wildandpreciousfamily.