How To Salt Paint
This is a fun, easy craft for all ages. You may even have all the materials in your house already. If not, they’re pretty inexpensive and available at most big stores.
You’ll need:
- Elmer’s glue
- Salt (table salt, not sea salt)
- Acrylic paint
- Paintbrushes
- A small plastic container to mix water and paint
- A small cup of water
- Thick paper or coated paper plates (the really inexpensive kind)
- Cookie sheet or craft tray (optional, but good for containing the mess)

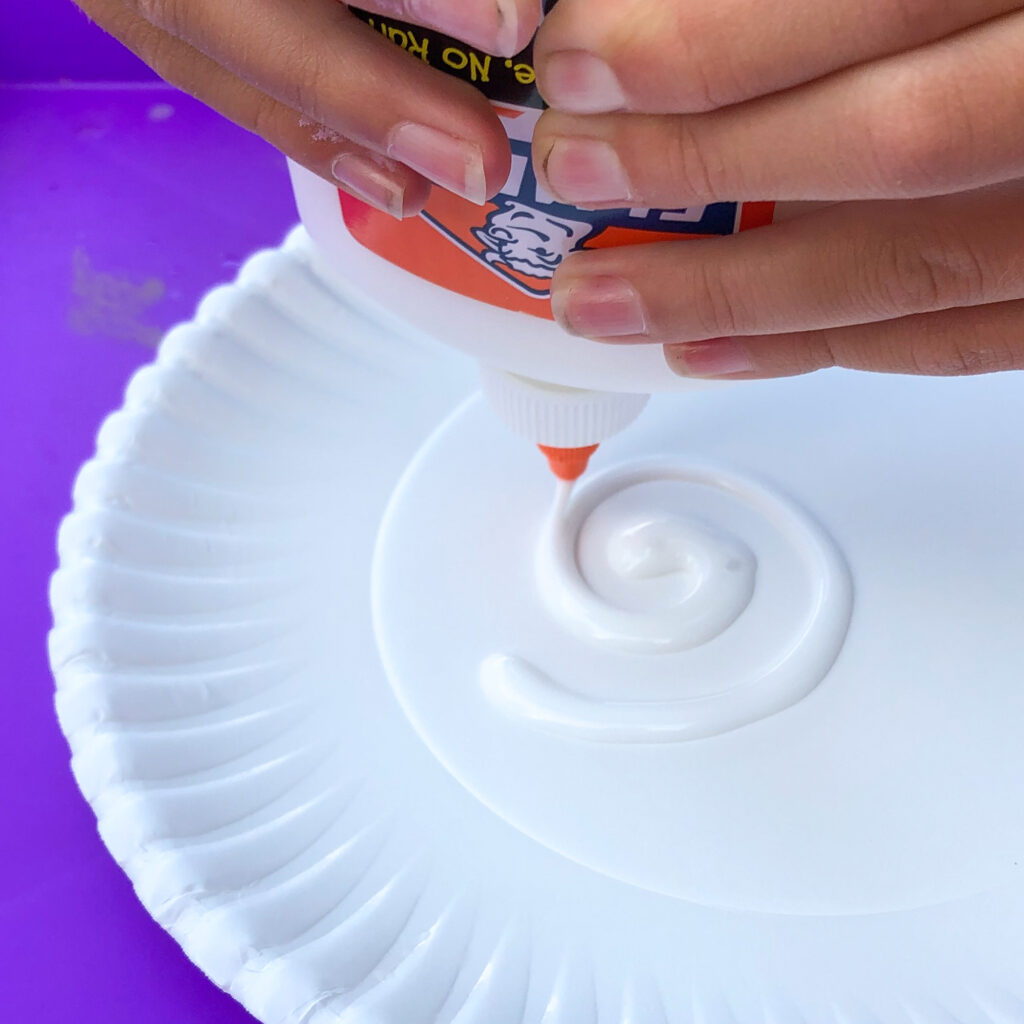
Step One
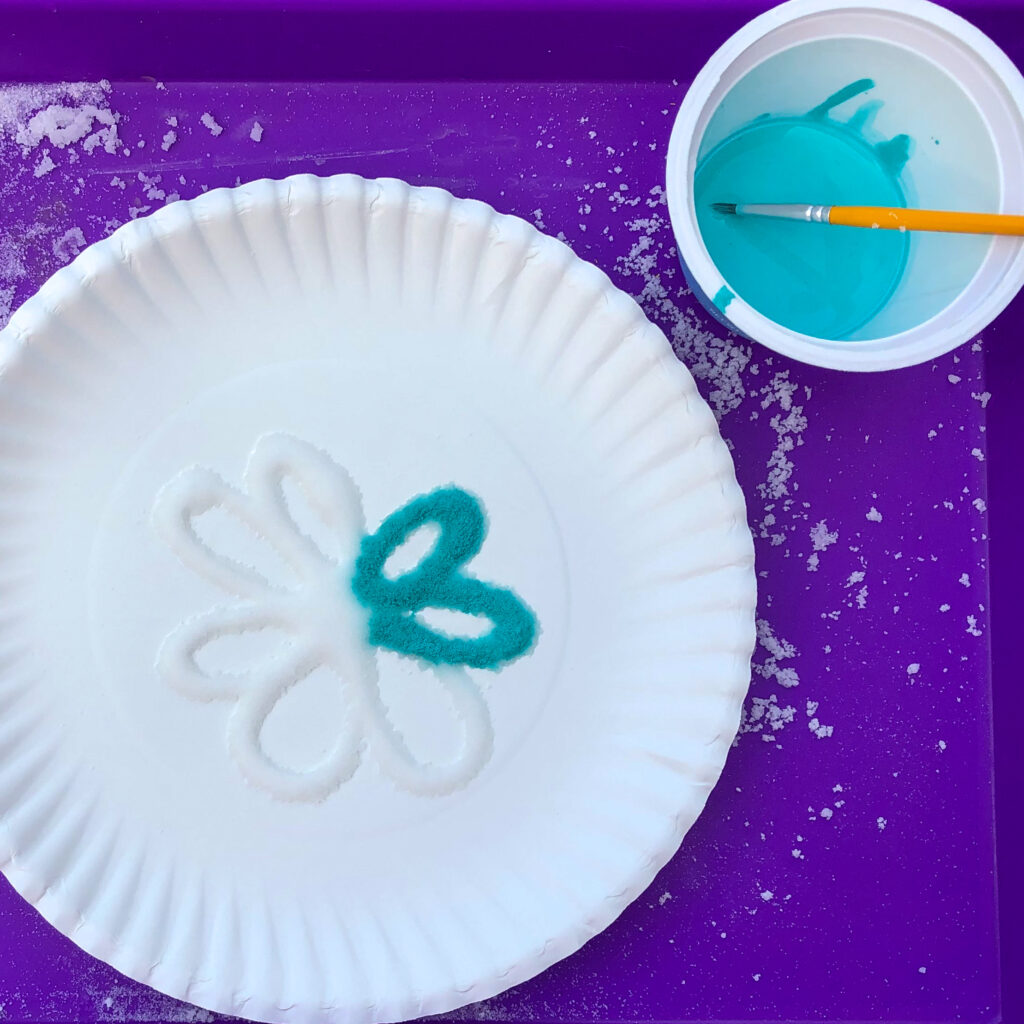
Using the glue, draw a big, basic shape on the paper plate. Try to not let the glue applicator actually touch the plate. You want the glue to be rounded on top, like a piece of spaghetti.
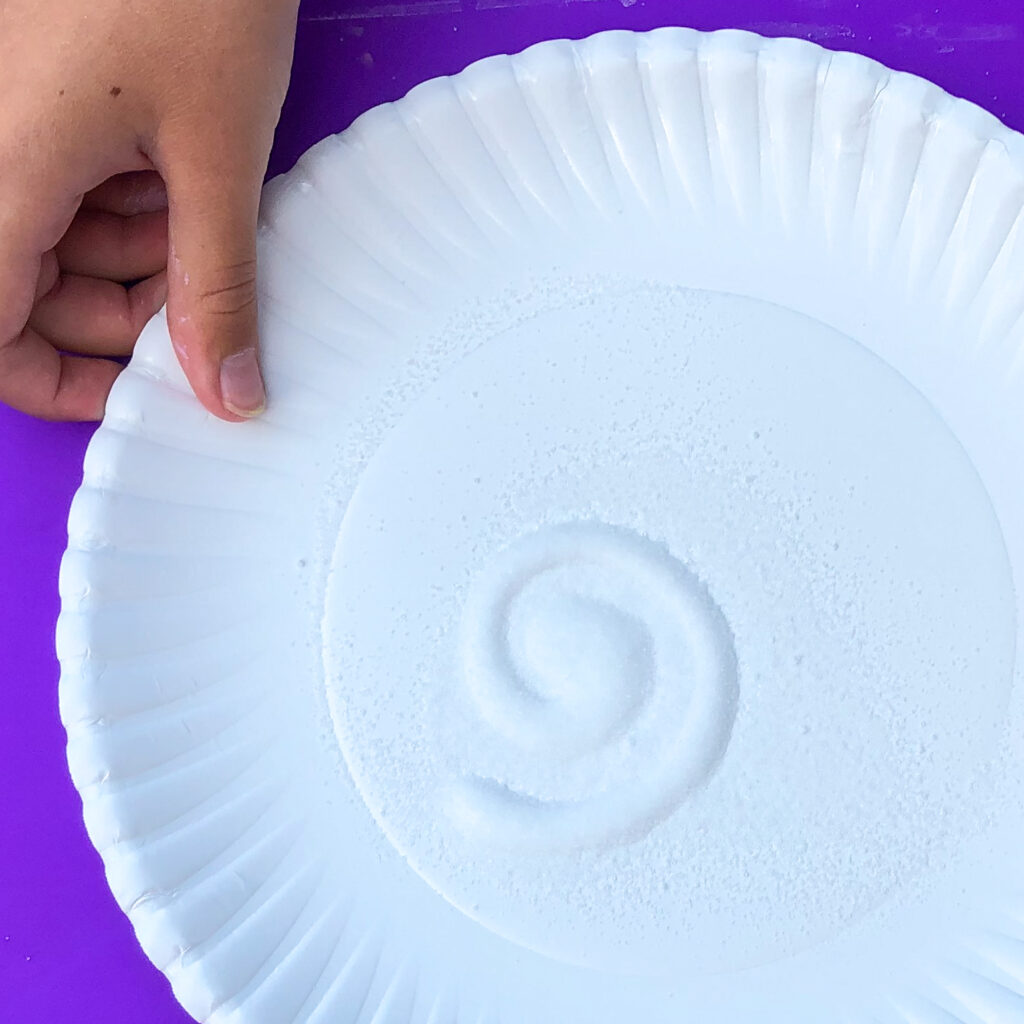
Step Two:
Sprinkle salt all over your design. Gently shake your plate back and forth to make sure all sides are coated. Tap excess salt back into the tray or a bowl.

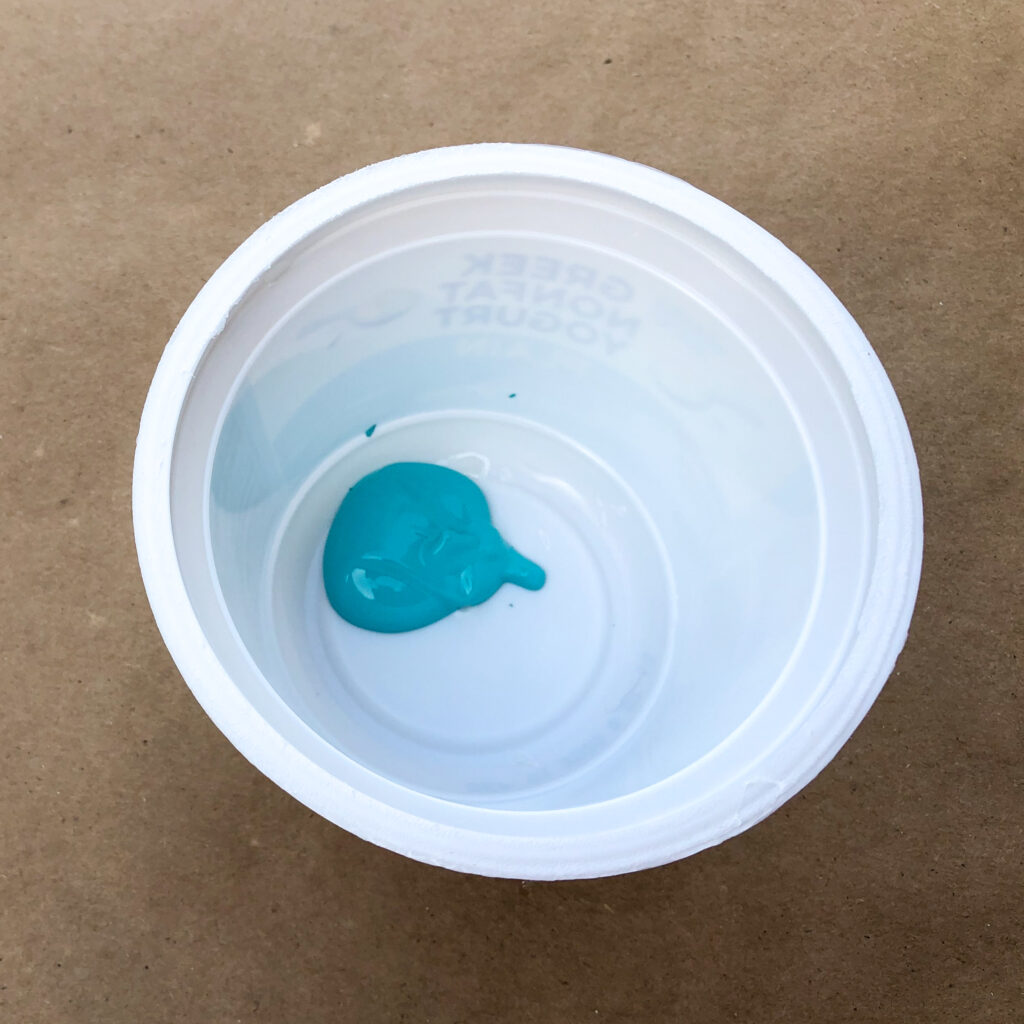
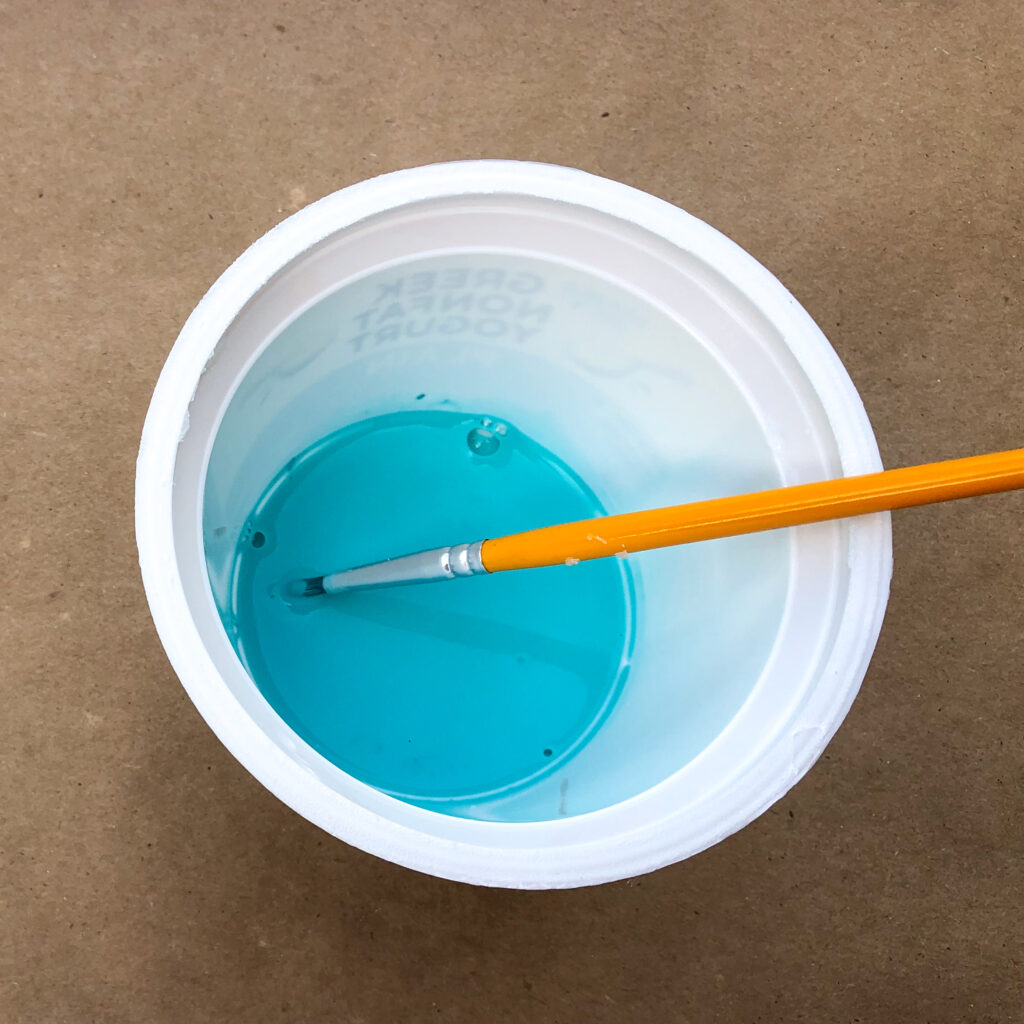
Step Three
Put a small amount of acrylic paint into a plastic cup. I used an empty yogurt container. Add a dab of water. I don’t have exact measurements here. The idea is to water the acrylic paint down a little bit. If I had to give you measurements I would say 80% paint and 20% water.
Step Four
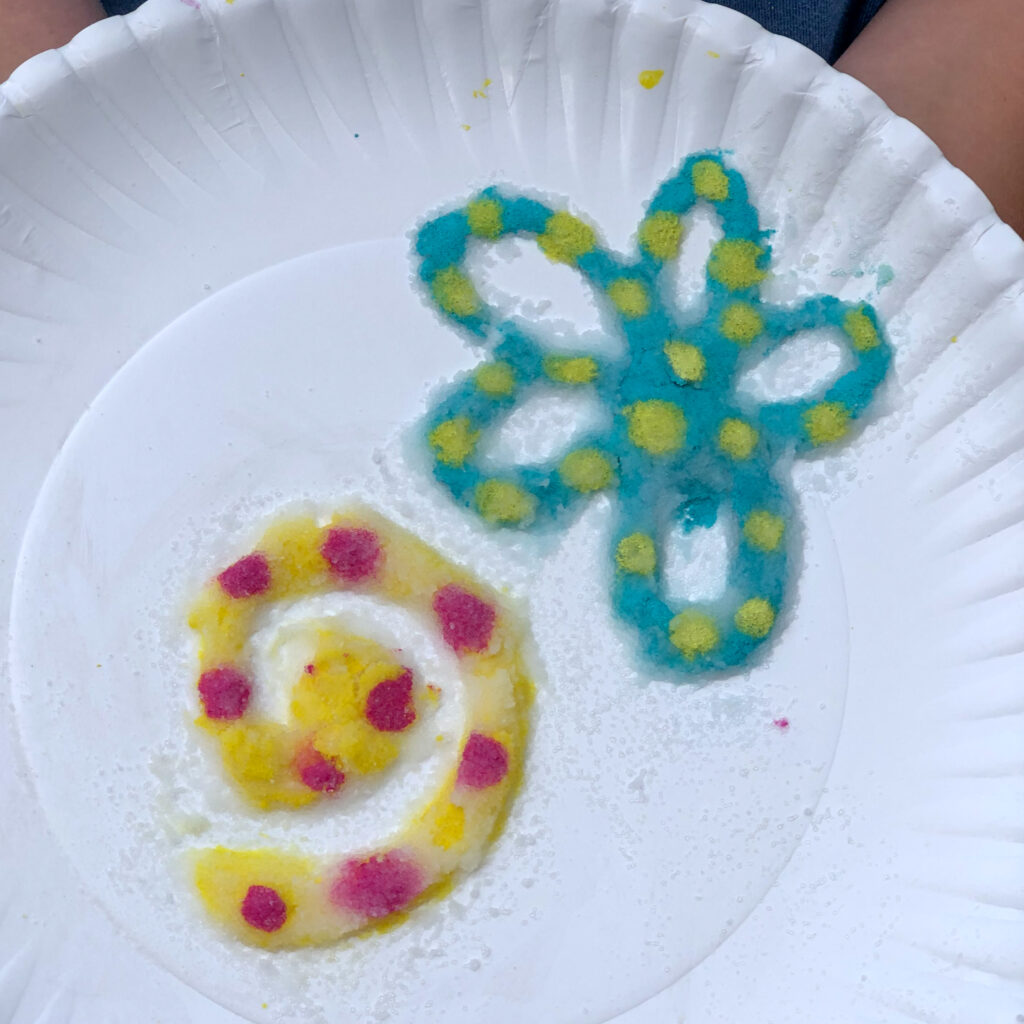
Now comes the fun part. Gently dab paint onto your salt painting. Do not rub or brush, just dab. If the paint doesn’t spread, add a little more water. If it runs all over the place, add a little more paint. Don’t worry about making a mess – this is just supposed to be fun!
Notes
The thickness of the paper makes a big difference when salt painting. Use the thickest paper you can find – cereal boxes, shipping boxes or paper plates all work well.
If you’re painting outside, I’ve also noticed the weather makes a difference. Heat seems to make the glue run. I either move painting inside or let it go and enjoy the process.
xo, Megan