Crafts: Ten Minute, Ten Cent Bookmarks
Guys. You won’t believe this, but I did the math and these super-cute bookmarks are less than TEN CENTS EACH to make. And yes, just ten minutes. (Okay, maybe a smidge more if you get picky with things, but still. They’re so fast to make. And worth it!)
Here’s what you’ll need:
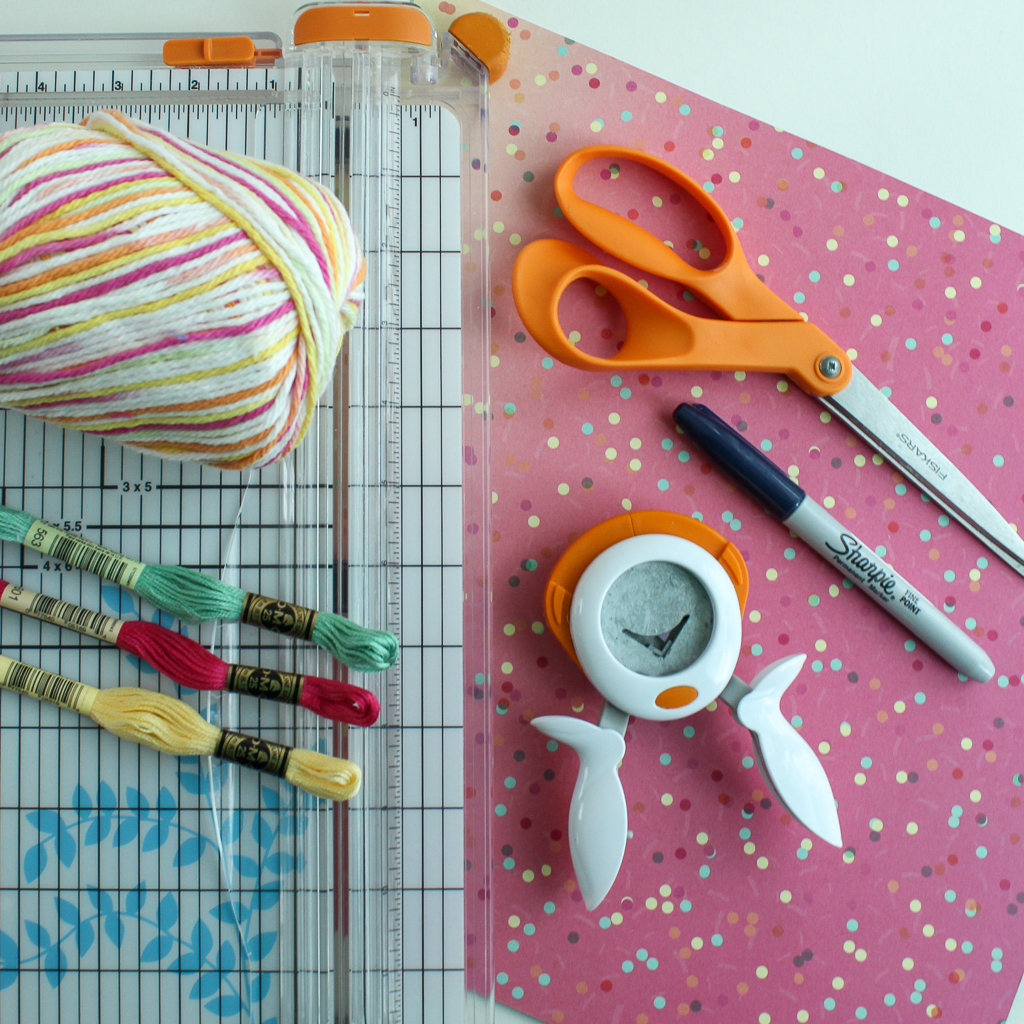
Yarn in your choice of color. I used Sugar ‘n Cream yarn, also from Joann’s. You can experiment in this department – twine or leather might be fun, too. I chose yarn because I knew I’d have little hands making this craft.
Embroidery floss in your choice of color. I chose basic floss in colors that coordinated with my paper and yarn.
Cardstock in your choice of pattern or color. I used a pack of 12″ x 12″ paper from Joann’s. I was planning to make a bunch and I wanted them to coordinate. But really, use whatever color or pattern you want. It does have to be cardstock, though.
Fabric scissors.
Paper cutter. Yes, you can use scissors, but a paper cutter does a better, faster job.
A hole punch.
Optional – markers. Use these to write a message on your bookmarks, if you want.
Optional – corner punch. This gives the bookmark a little extra detail, in my opinion. I use this tool here.
Optional – laminator. This is to add strength to your bookmark, if you want. This one is my favorite and I use it all the time. (It’s not pictured above.)
Ready to start?
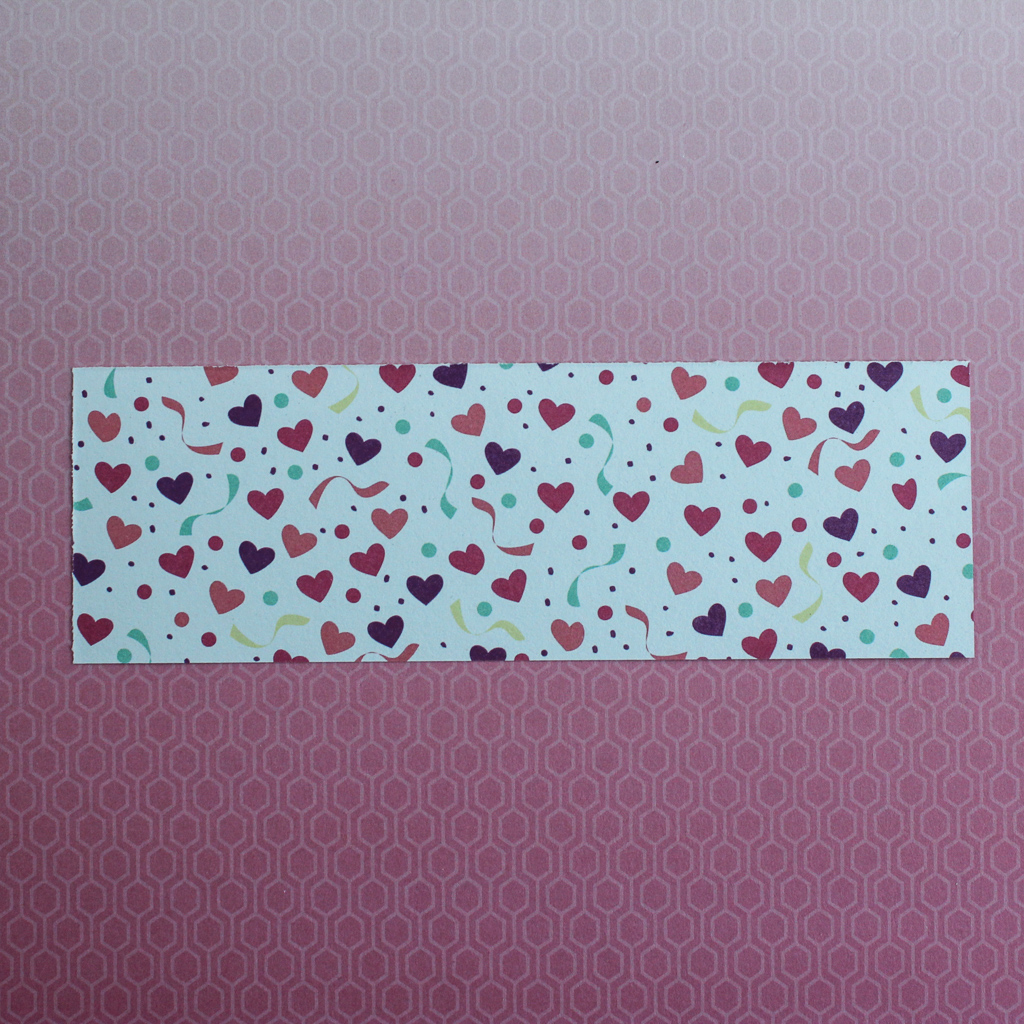
First let’s make the bookmark.
First, cut a piece of cardstock to 2″ x 6″. If you bought a 12″ x 12″ sheet of paper, this will yield you 12 bookmarks. Easy and efficient.
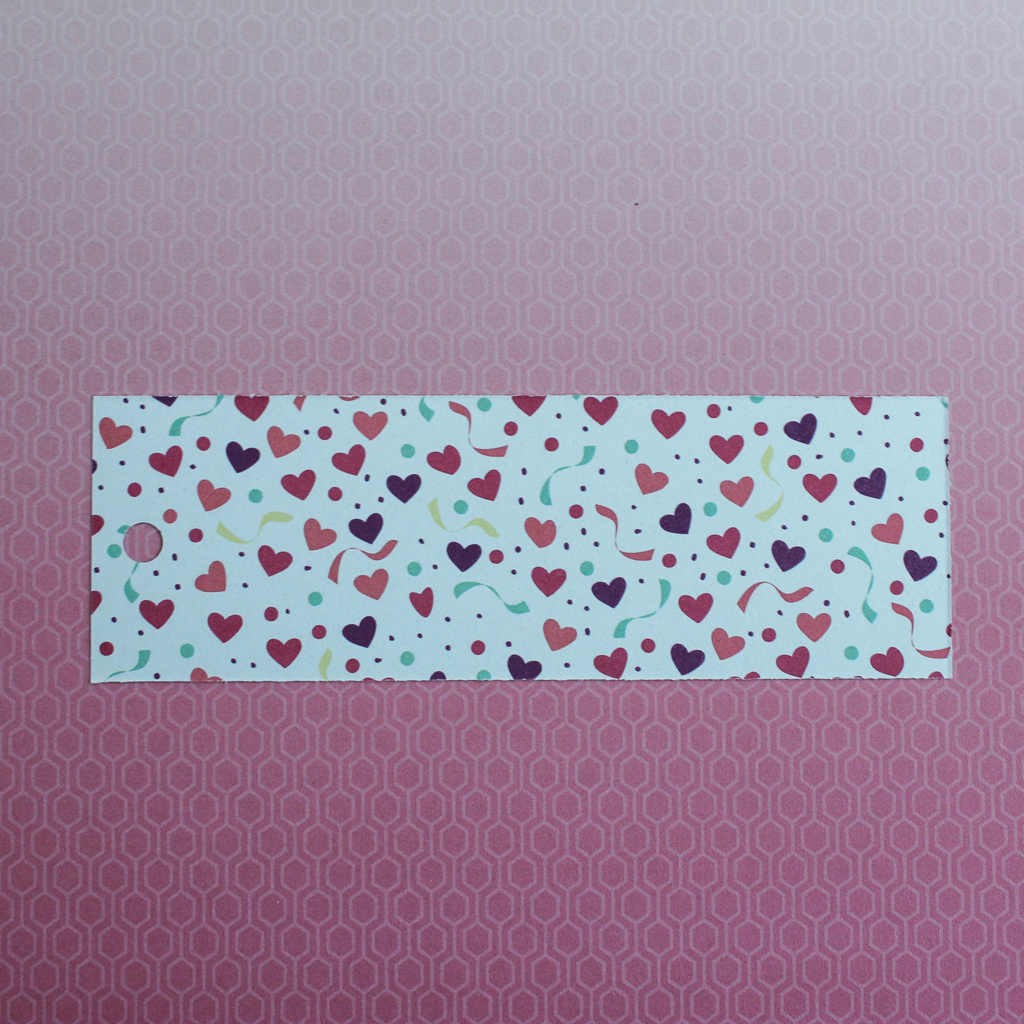
Second, using your hole punch, punch a hole at the top.
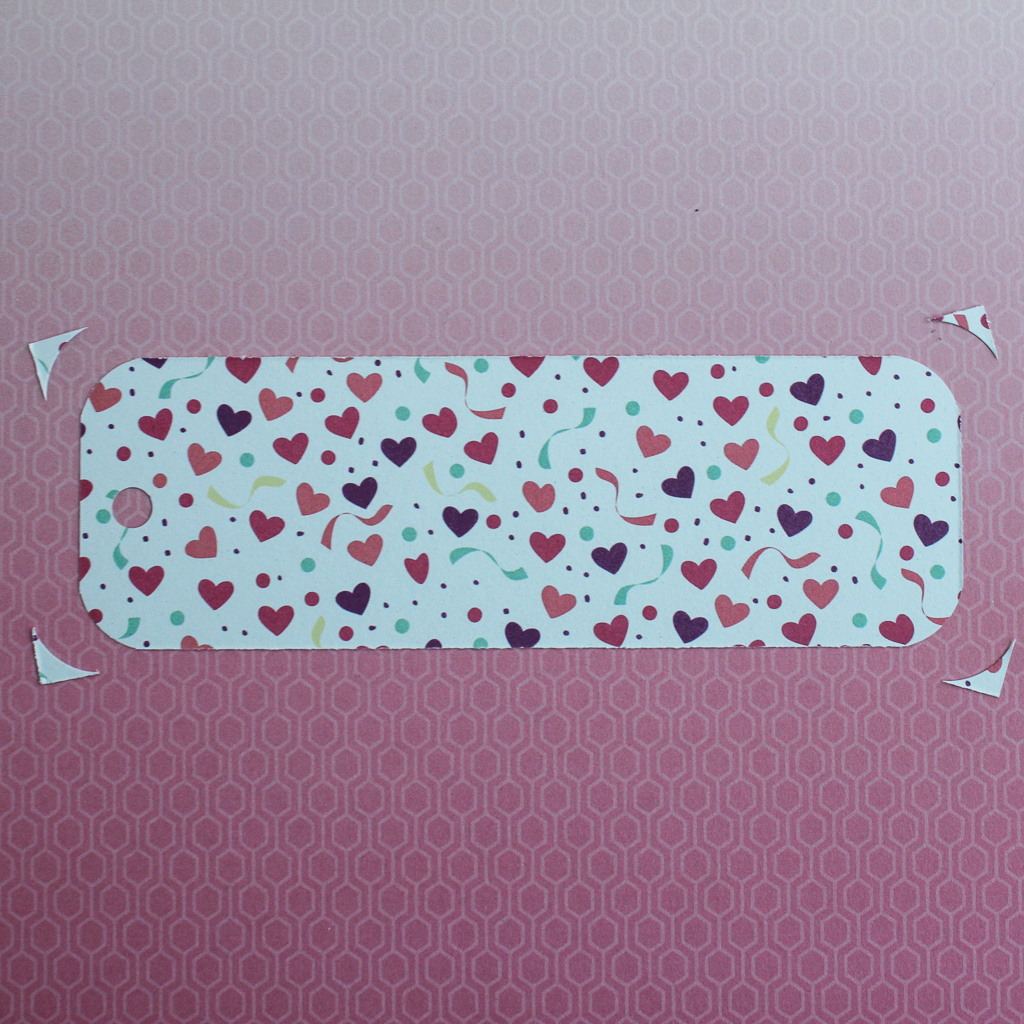
Third, round the corners (this is optional).
Fourth, if you’d like to write your name or a little message on the bookmark, do that now. (Example: Happy Valentine’s Day!)
Fifth, if you’d like to laminate your bookmark, do that now. (If you’re making more than one bookmark, wait until you have enough ready to fill an entire sheet of laminate.)
Sixth, cut out bookmarks (if you laminated them.)
Now let’s make the tassels.
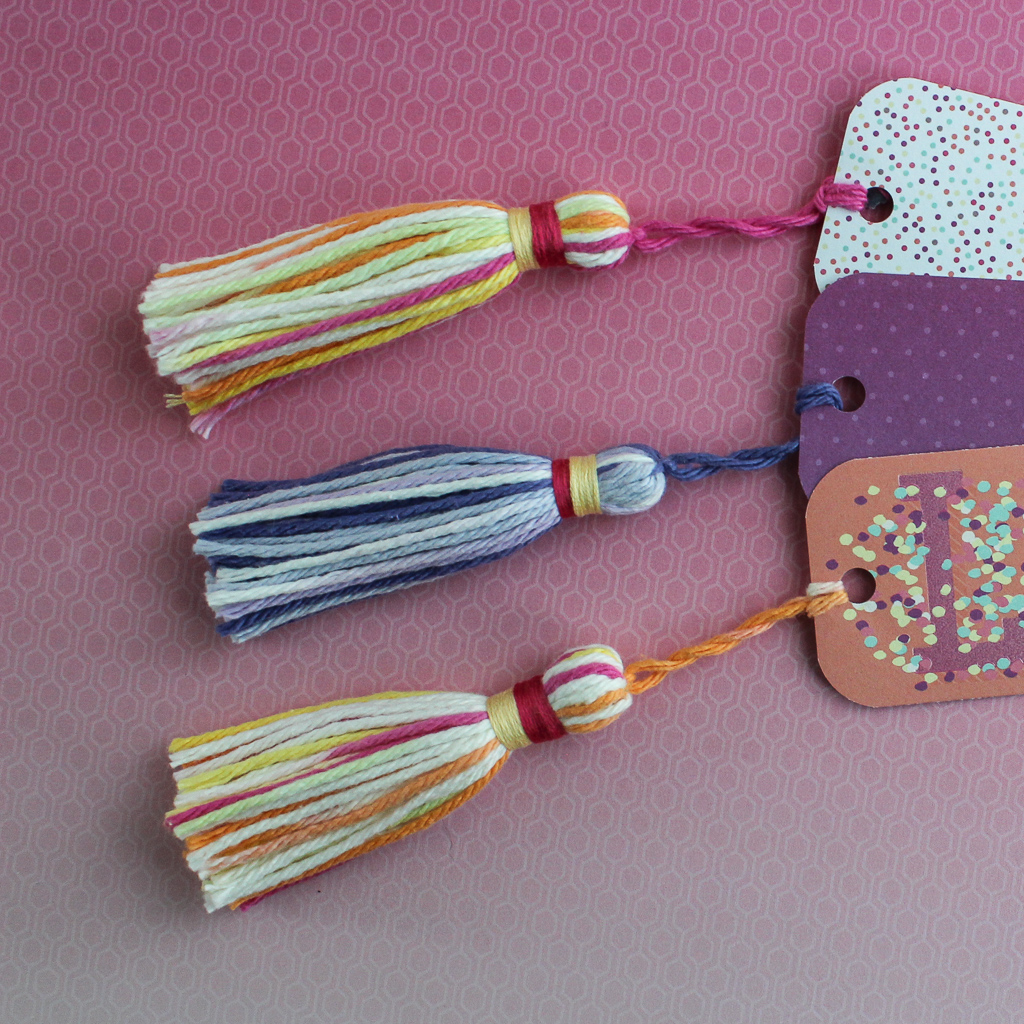
I learned using this video here. Two notes:
I used a small Moleskine notebook to wrap my embroidery floss around. It’s 3.5″ x 5.5″. Other ideas that may work – a small picture frame, makeup compact, or your phone.
I wrapped the floss around 30 times, not 50.
Final Steps
Finally, tie the tassel to the bookmark and voila! A fun, practical, inexpensive gift.

If this is too much for little hands but they still want to help, try making the pieces (bookmark, tassel) and letting them assemble. Show them a pile of bookmarks, a pile of tassels, and let them mix-and-match to their hearts content. They could also draw or write on the bookmarks (if you haven’t laminated them already). There are lots of ways for little hands to be involved!
I see these as fun and useful for:
Teacher gifts
Classroom gifts (if you’re ambitious and want to make that many)
Grandparent gifts
Party favors
Donation to a senior center or assisted living facility
Craft / activity for birthday parties
And more!
If you give these a try, I’d love to hear about it. Leave a comment or post a picture on Instagram and tag us! We’re @wildandpreciousfamily.
🙂 Megan